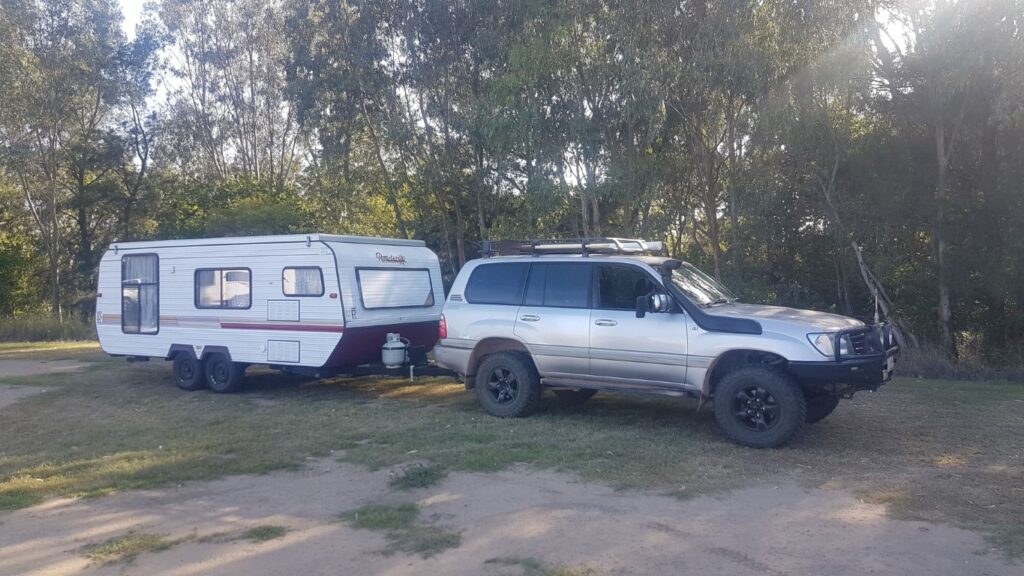
Back in 2019, my dad bought a caravan and was in the process of ‘getting it ready’ (you know – making little modifications and improvements so that it is just how you want it) but sadly never got to use it. Rather than sell it on, we decided to bring it up to our house and put it to use up here. It took about 6 months to make our own little modifications and improvements (You know, so that it is just how we want it haha.. because that definitely runs in the family) and we’ve been using it pretty regularly ever since.
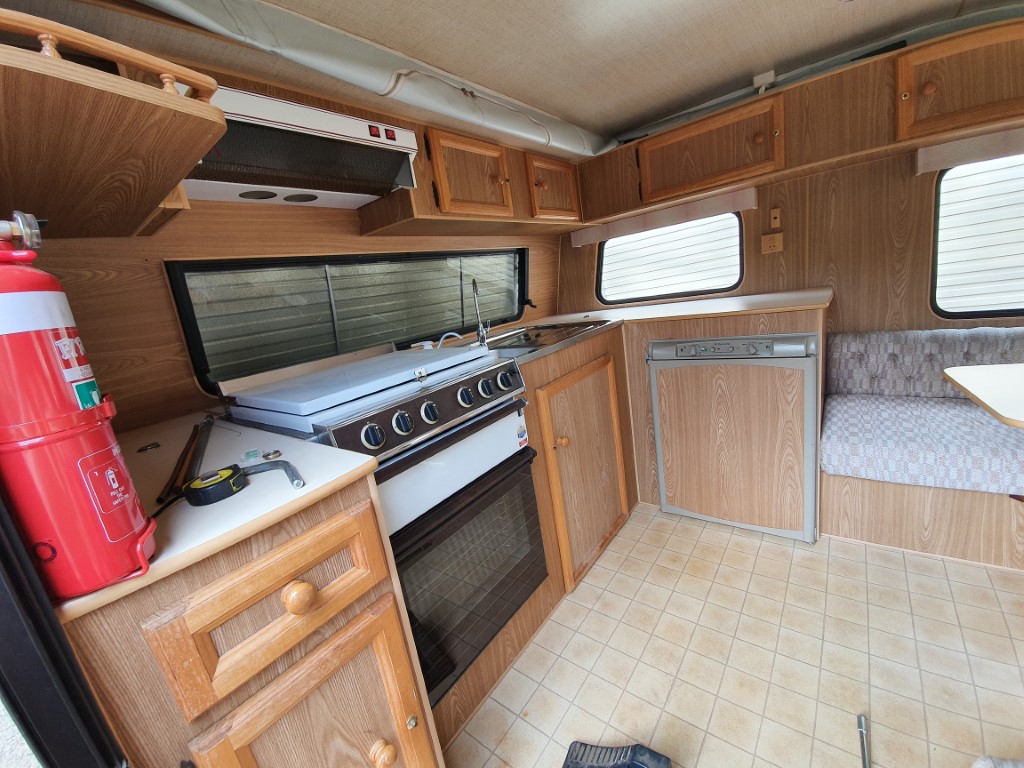
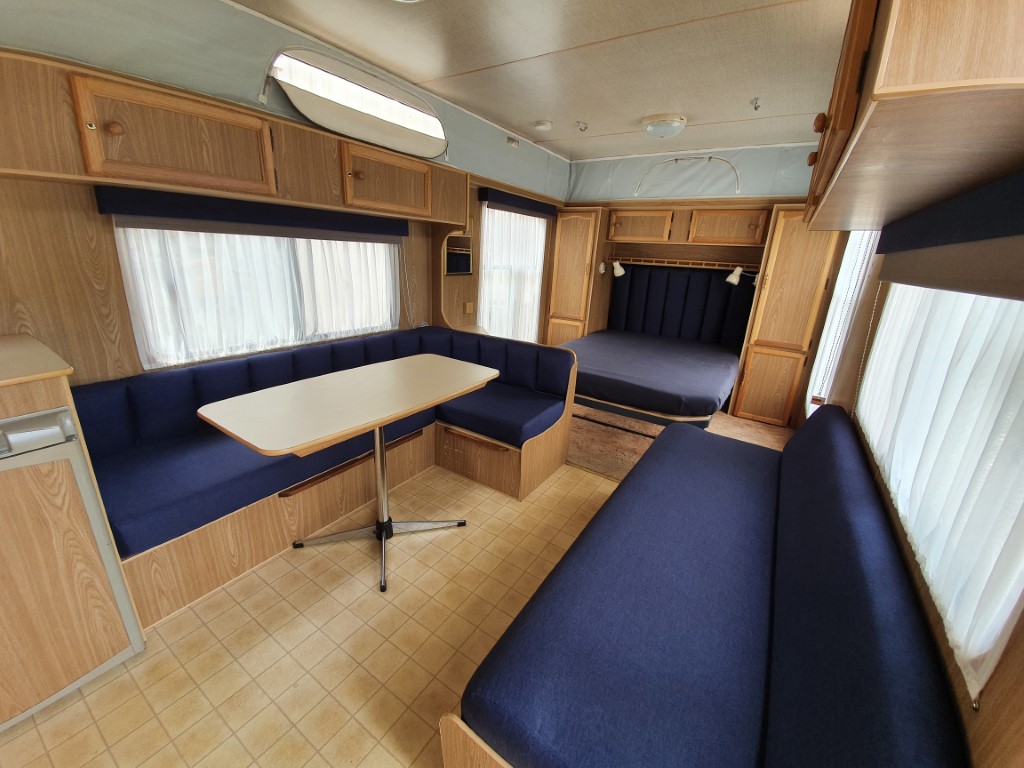
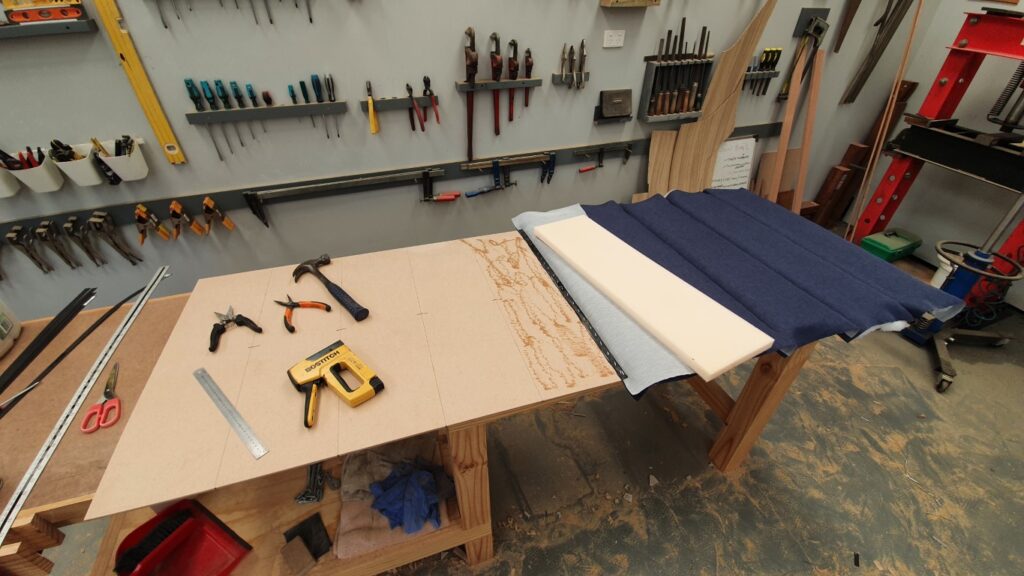
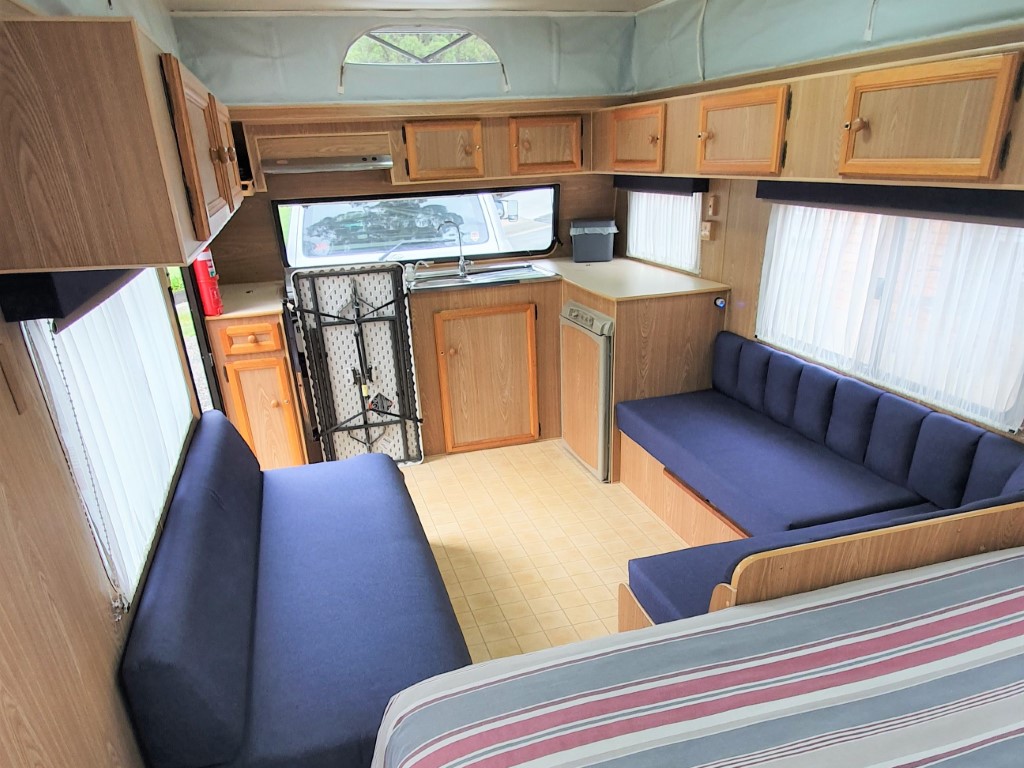
It’s a very ‘on road’ van from an era where you just stayed on powered sites in van parks, which we probably wouldn’t have chosen, but the layout inside was good. It was just in need of a bit of a refresh. Matt got straight onto making some changes to the front and rear (storage etc) on the outside of the van and I got straight onto updating the inside. I was not planning to replace the upholstery at first, but then when I sat on the original seat one hot day I realised that the fabric was all scratchy and not so nice to sit on. Decisions were made, You tube lessons were watched, fabric was purchased and a full caravan re-upholstery was underway..
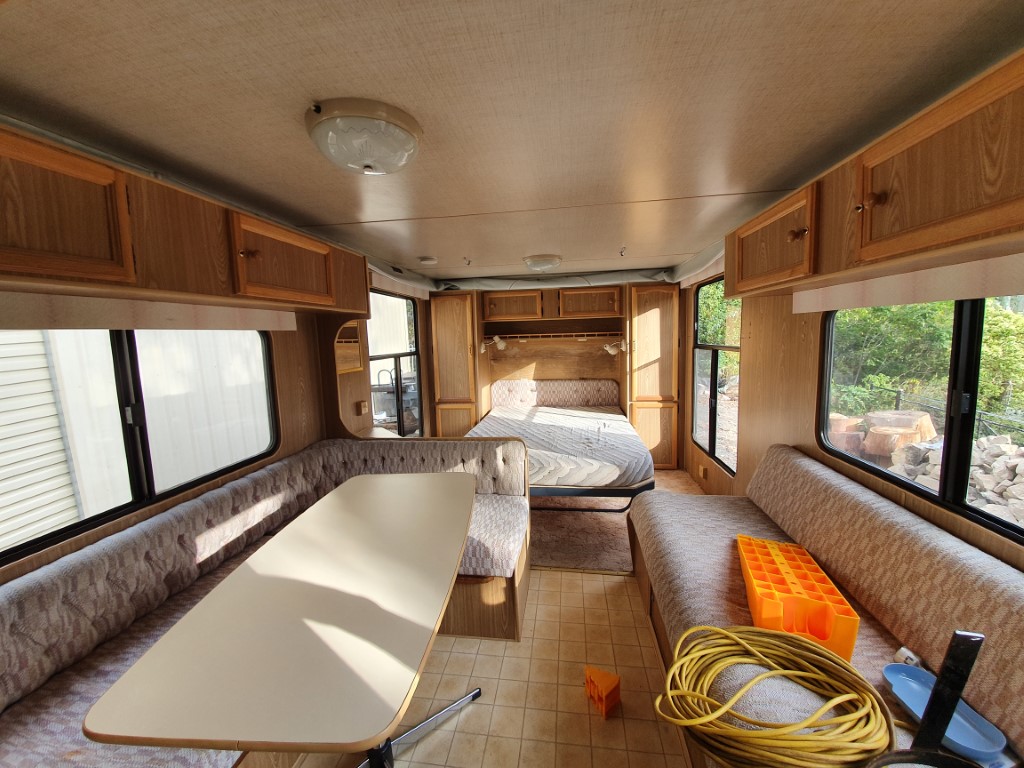
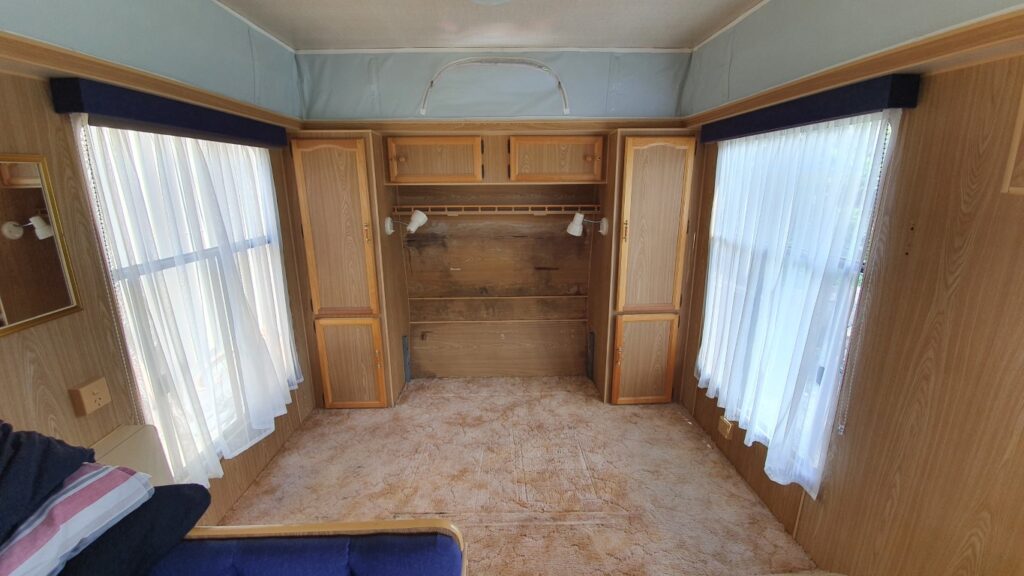
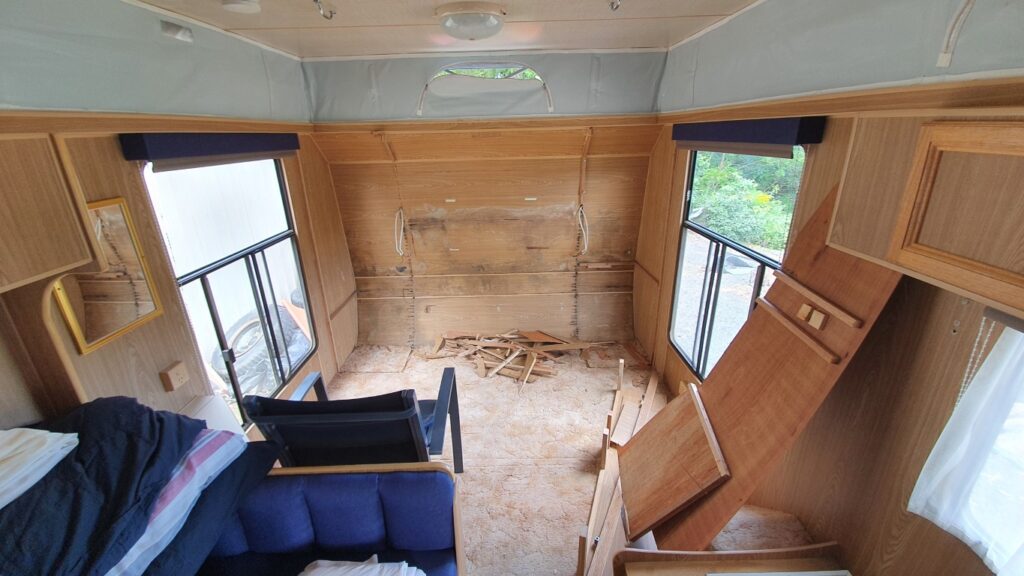
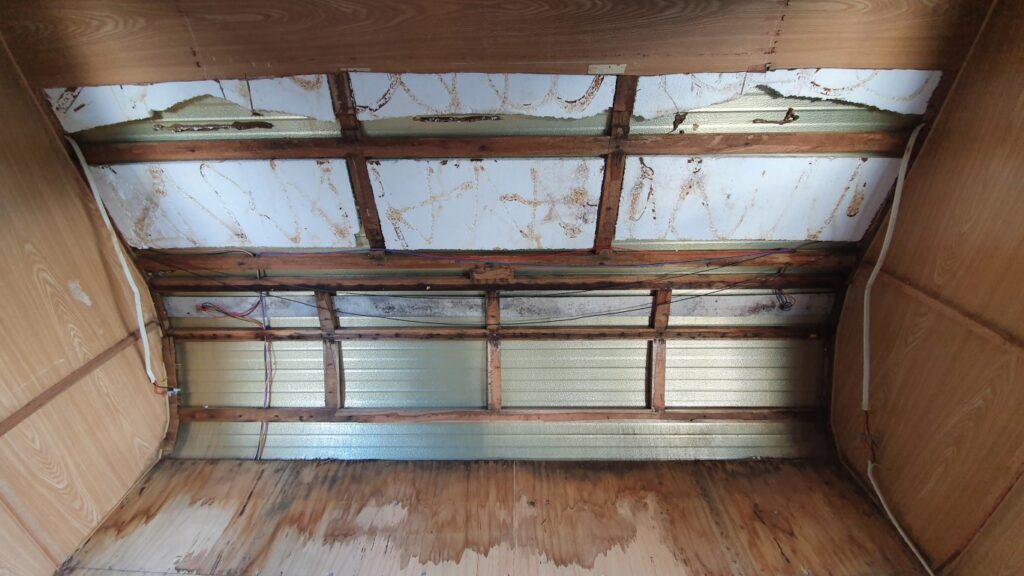
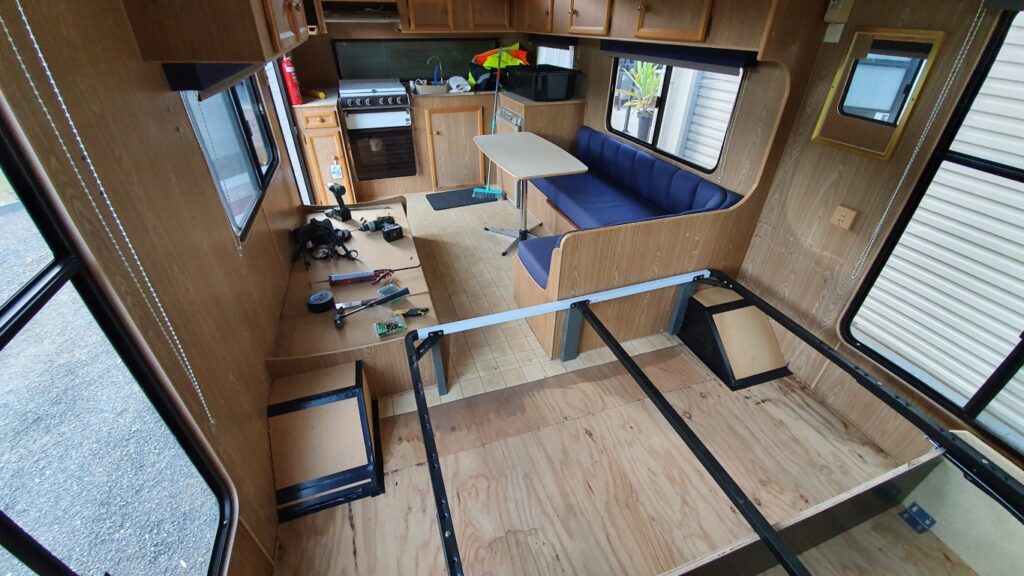
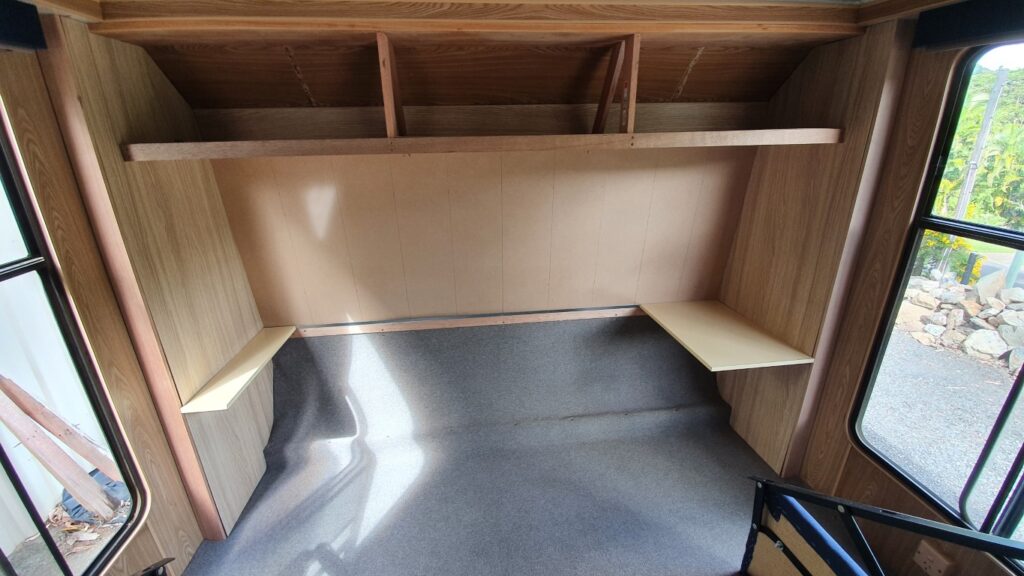
So around the time I finished the 1st ‘refurb’, we got lots and lots of rain. Unfortunately this highlighted a big problem – the back wall was leaking, and not just a little leak. After our first trip away we found that the whole back wall was wet and had gone mouldy. Although I was far from thrilled about this.. It did create an opportunity to fix another problem we had found – that the bed was too small! So next minute.. I’m ripping out the rear interior cupboards and walls for replacement. There was so much water getting in..
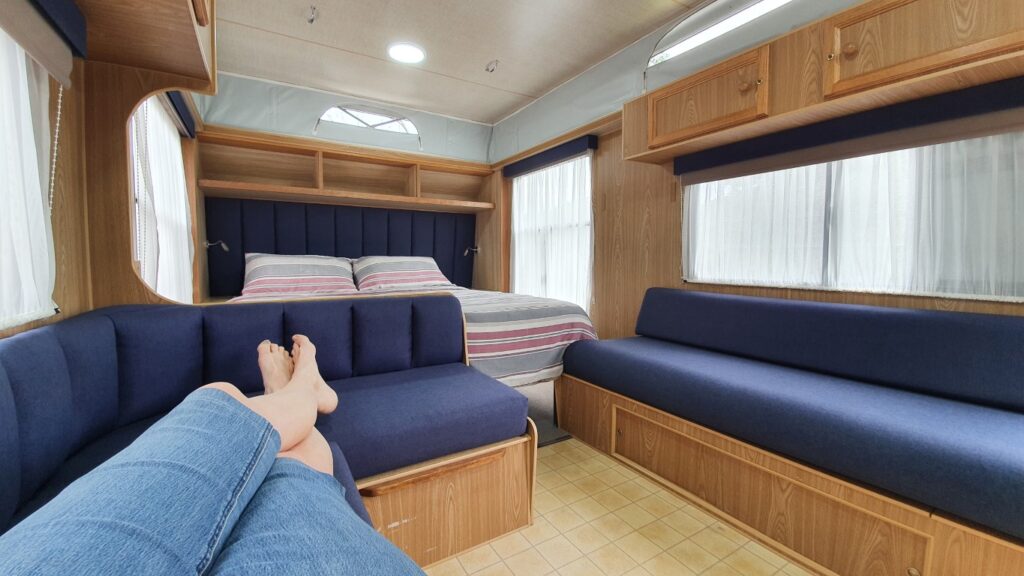
Pulling out some cupboards meant that a queen size bed was going to fit. We’re both pretty tall, so this is a massive improvement for us. I used a modified gas lift QS bed frame (that I got for free off marketplace!) And.. who needs poky caravan cupboards when we can store all our stuff under here.
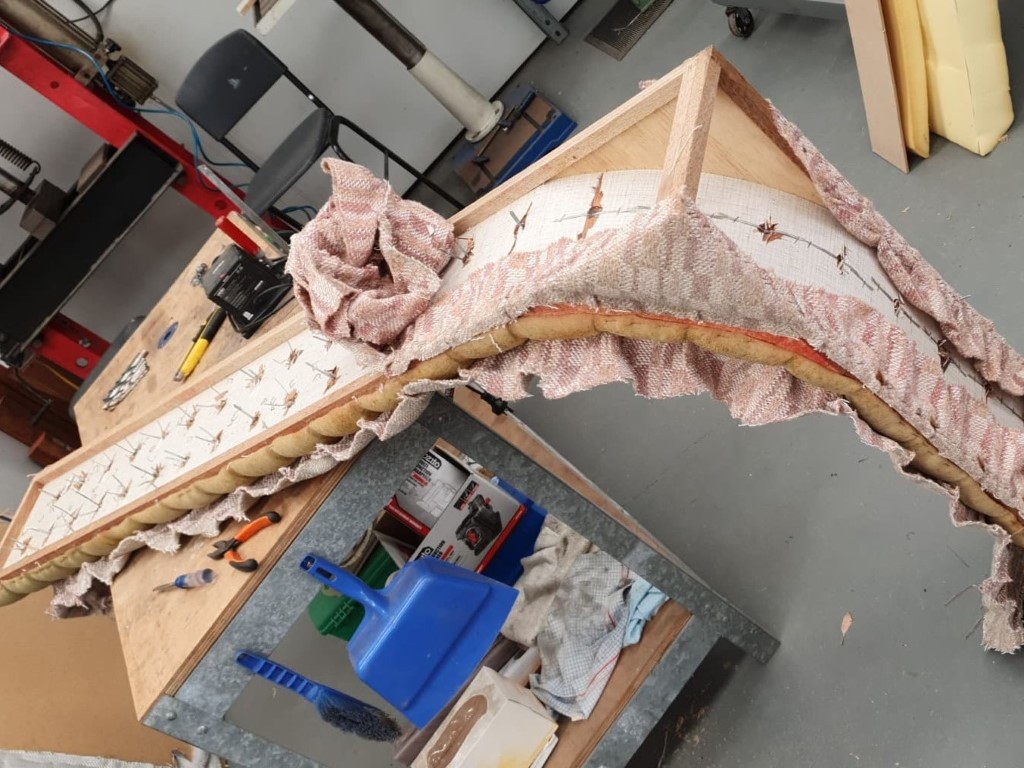
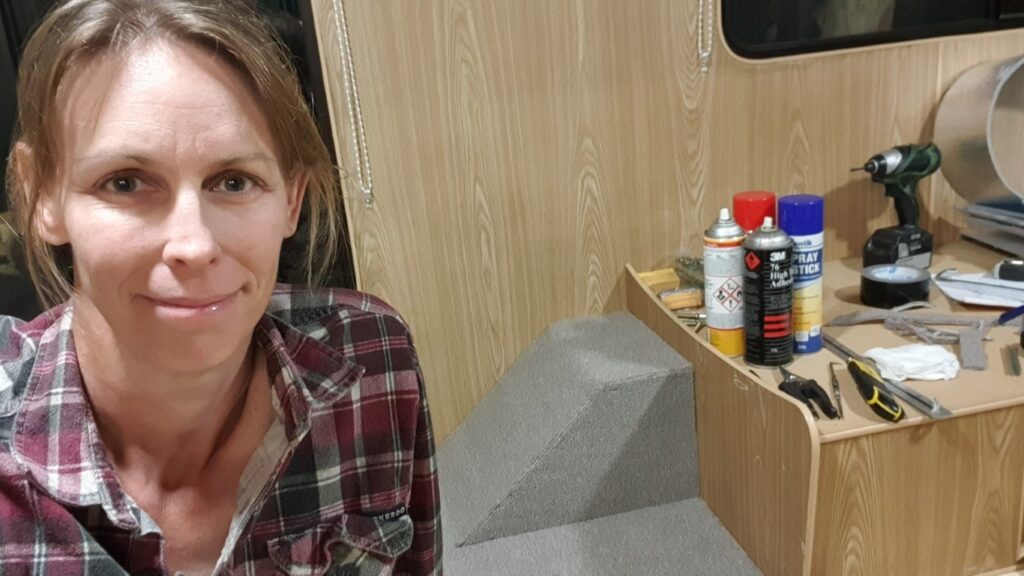
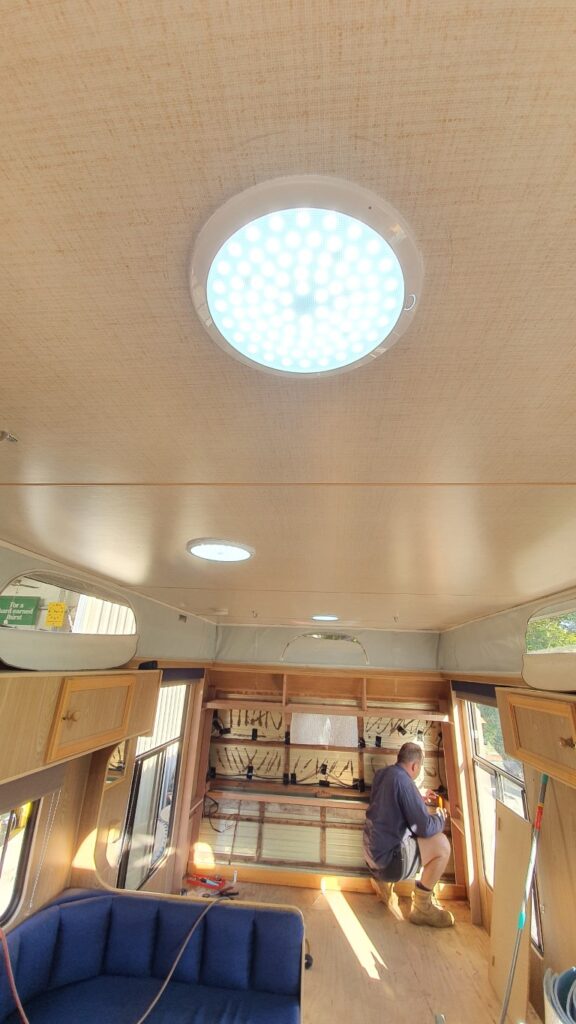
Matt went all out replacing the old lights for new LEDs, adding wiring for battery systems, installing multiple USB charging points etc, while I started the new framework for the interior walls and shelving above the bed. A few long days later and we had new carpet, a bit more padded upholstery on the bedhead and bed frame and the new shelving and plywood walls were looking good.
I really didn’t appreciate how good we could make this old van look when we started on this little fix up project. 5 years have now passed, and I still get a real kick out of heading off on a road trip knowing that we will be super comfortable and set up with all of our own stuff ready to go.