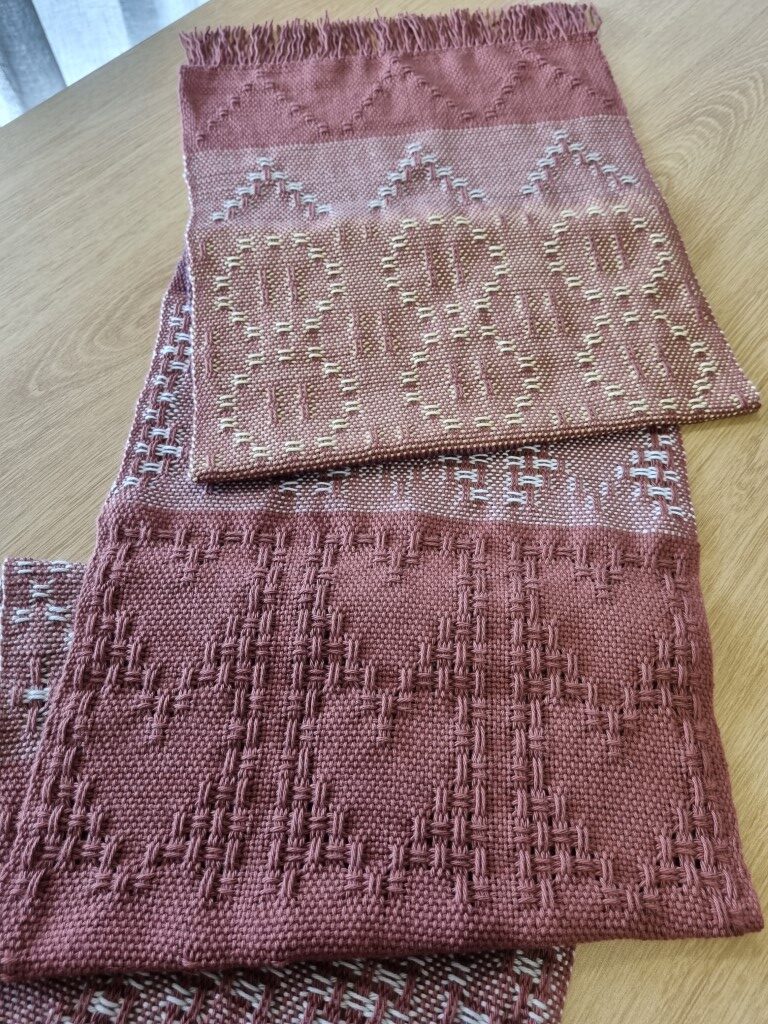
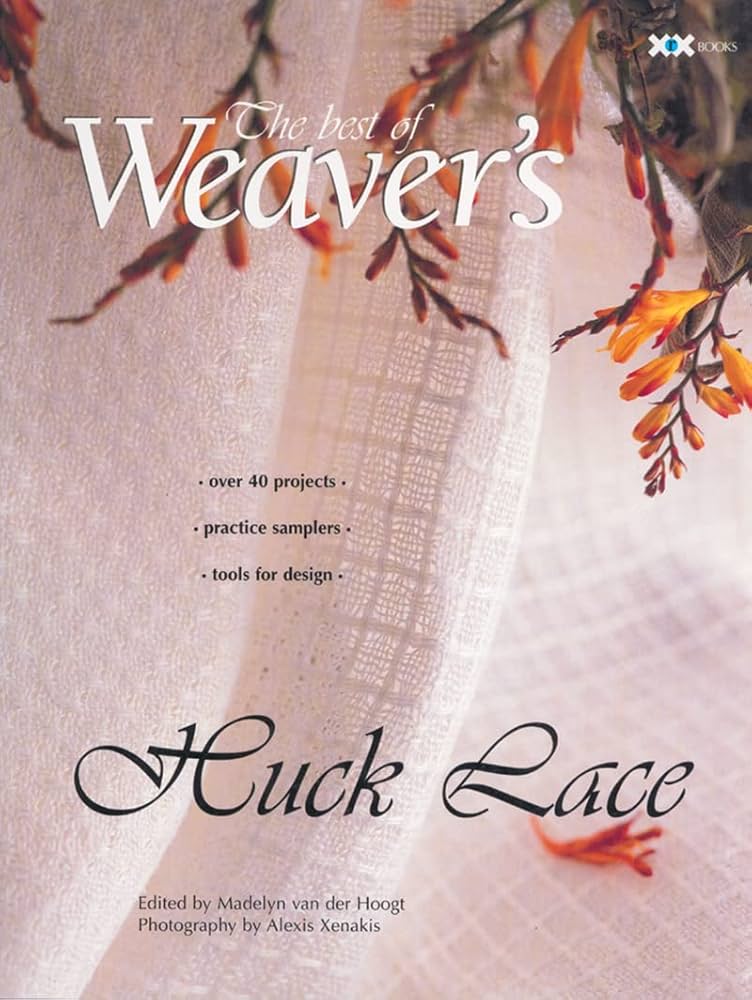
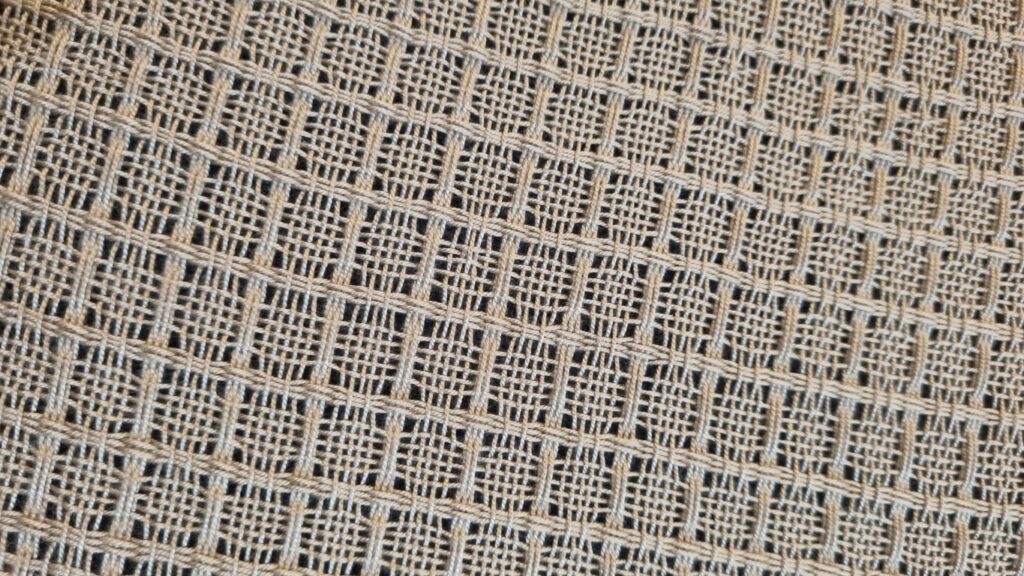
After participating in a ‘Huck Lace’ weaving workshop last year, I was looking for a reason to put this technique to good use. While I enjoyed playing around with 2 colour designs on my workshop sample, I couldn’t get past the look of the simple one colour designs that I had seen in ‘The best of Weavers – Huck Lace’ book that we have in the club library.
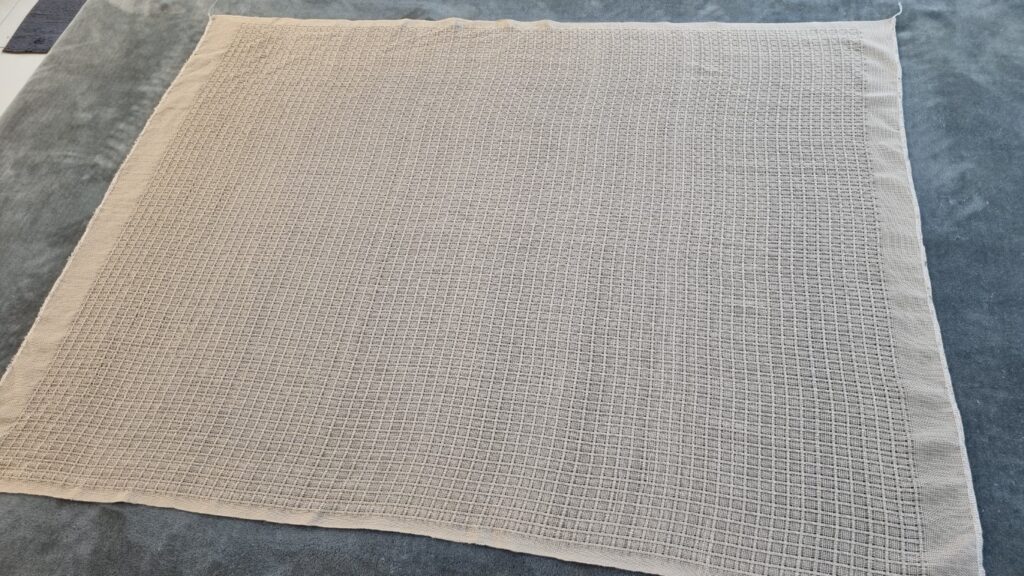
With a special young lady in mind, I thought this would be a perfect opportunity to try out a pretty, light weight, baby wrap or blanket. Its so much more fun to create something that has a planned end purpose, even though you value the learning journey just as much as the finished product.
Up to now, most of my weaving projects have used materials that have been chosen/supplied by others, and the thought of purchasing thread specifically for weaving has been quite daunting due to the cost and quantity required to have on hand. Someone who has been weaving for a long time, tends to build up a stash of weaving supplies (often as cones of wool, cotton or other fibre combinations) that offers a range of colours, textures and fibre types, but I am not even close to that stage yet!
Fine thread that is suitable for weaving is not something you can just pop down to Spotlight and pick up on special.. but there are lots of suppliers online. I have been fortunate through my club, to have had the opportunity to see different products used by weavers. I am aware of desirable brands and look forward to building up my own stash over time, but as someone who is still learning, it is also important to source supplies that are cheap enough to justify the risk taken with new and untested project ideas.
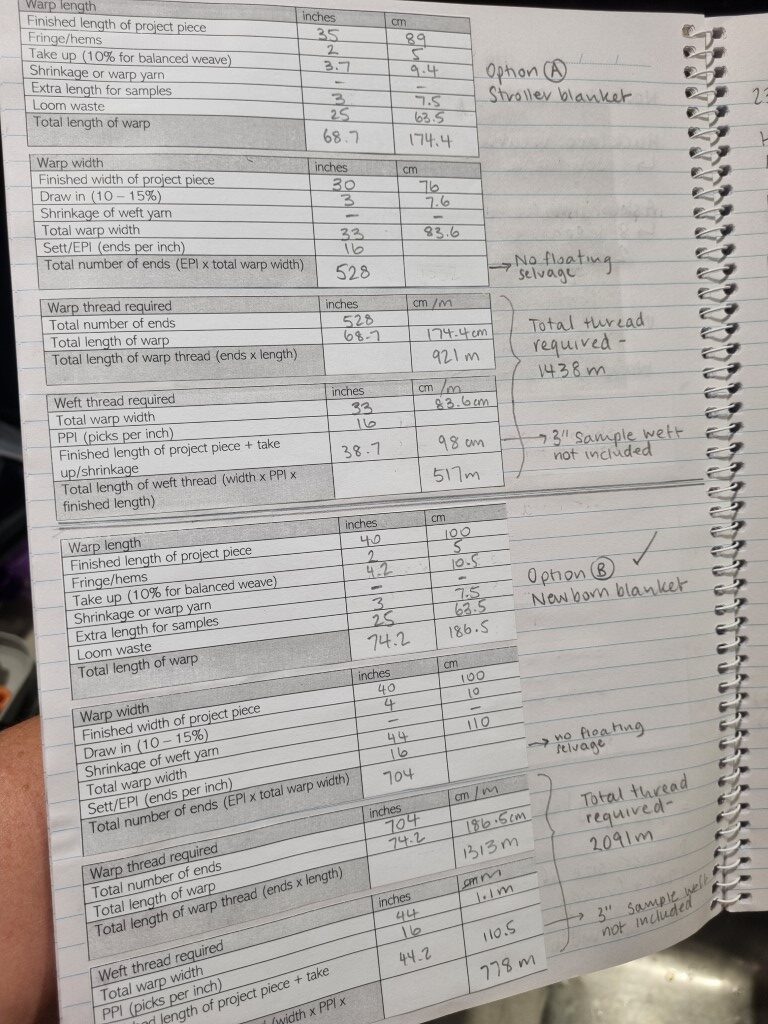
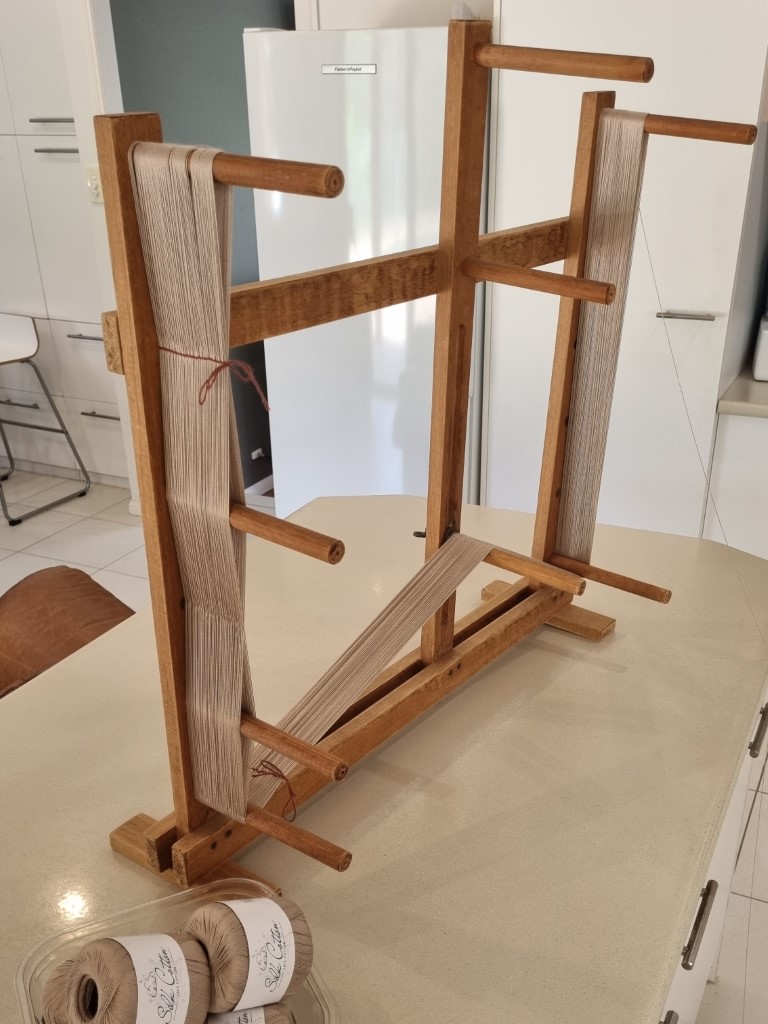
After a bit of a planning session, I worked out I would need about 2100 metres of thread for a baby blanket approximately 1m x 1m (give or take a little) I got online and compared some prices before deciding to take a risk with some ‘silk cotton’ from Temu. There is part of me that struggled to justify this as I am not entirely sure where this comes from or what conditions this has been manufactured under, but I really wanted to be able to compare this option with a dearer brand so I took the risk and made my purchase. The product arrived and was exactly as pictured. The thread felt strong, the colour was right, the thickness was as expected and it was lovely and soft. There were a couple of joins/knots in some of the balls, but it was overall quite nice to use. The Temu option cost about 75% my best option from a more reputable Australian online store. For this project that worked out to about $42 vs $57.
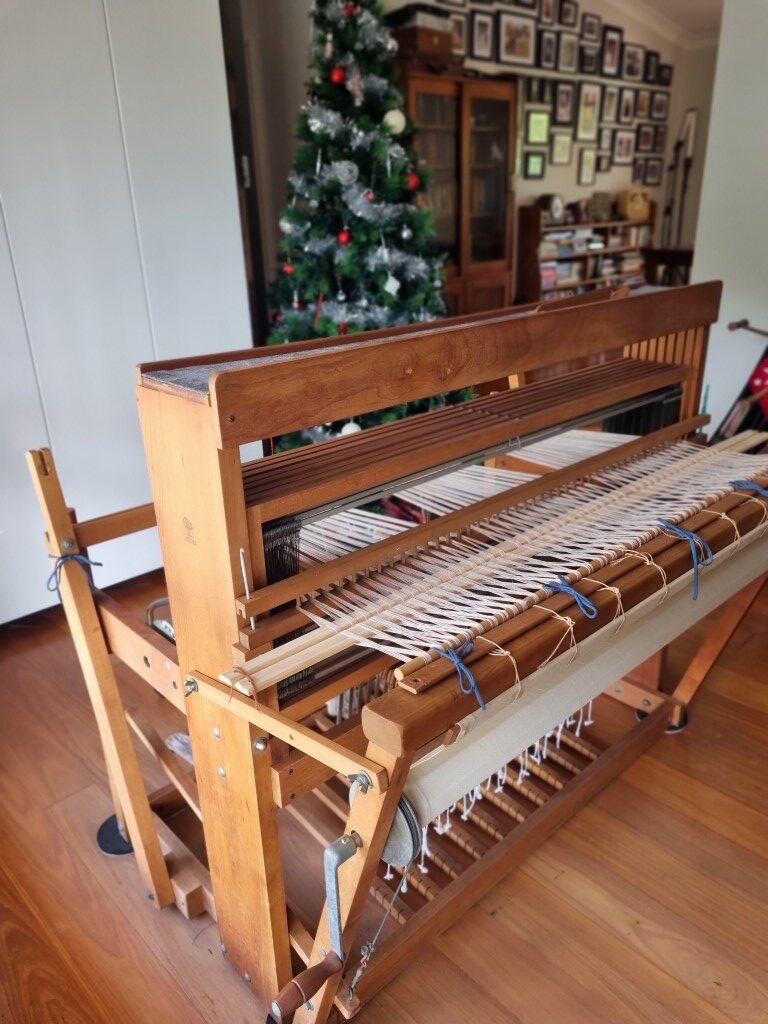
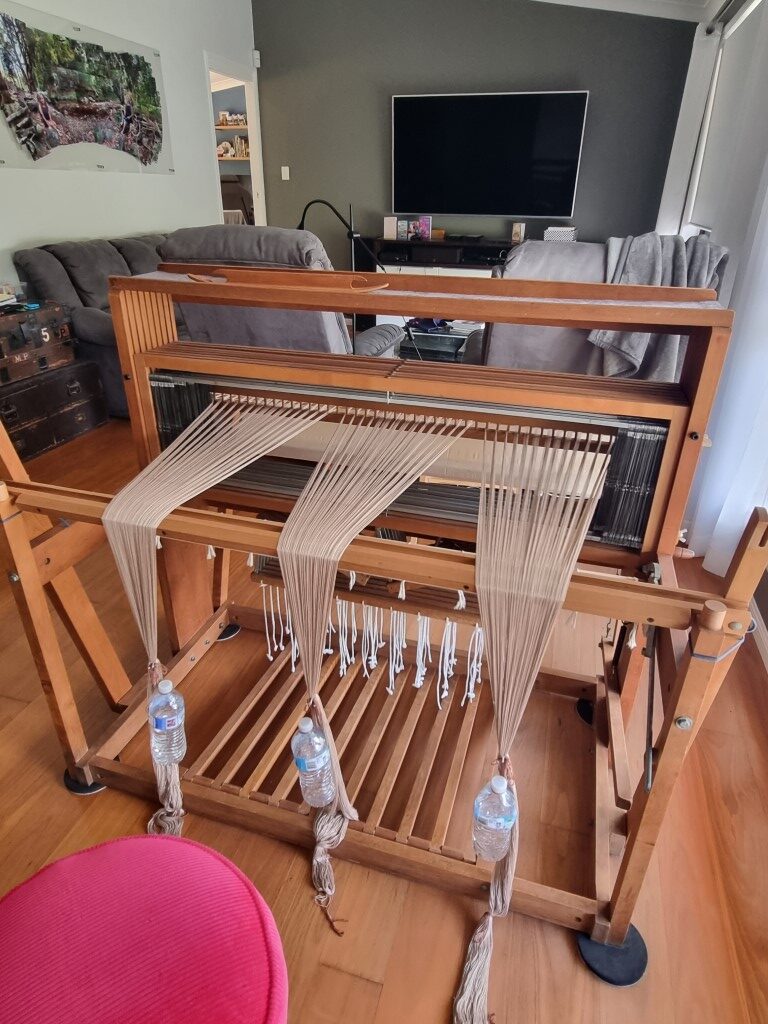
This was the widest item I have attempted on my floor loom so far, so preparing the warp and threading the loom took hours.. and hours..
I am definitely getting better at this part of the job, and although I am still slow, it went pretty smoothly. On this project it really sank in that I had put all of that time into threading the loom, to then only have a relatively short warp for the one blanket. Now that I know how much I enjoyed the huck lace weaving, I will definitely make a longer warp and take advantage of that hard work by making several similar items in a row.
My weaving was going great as I started out with the ski shuttle that came with the loom. I was feeling confident that I could weave even faster with a boat shuttle so I borrowed one from club. It was a great idea, in theory.
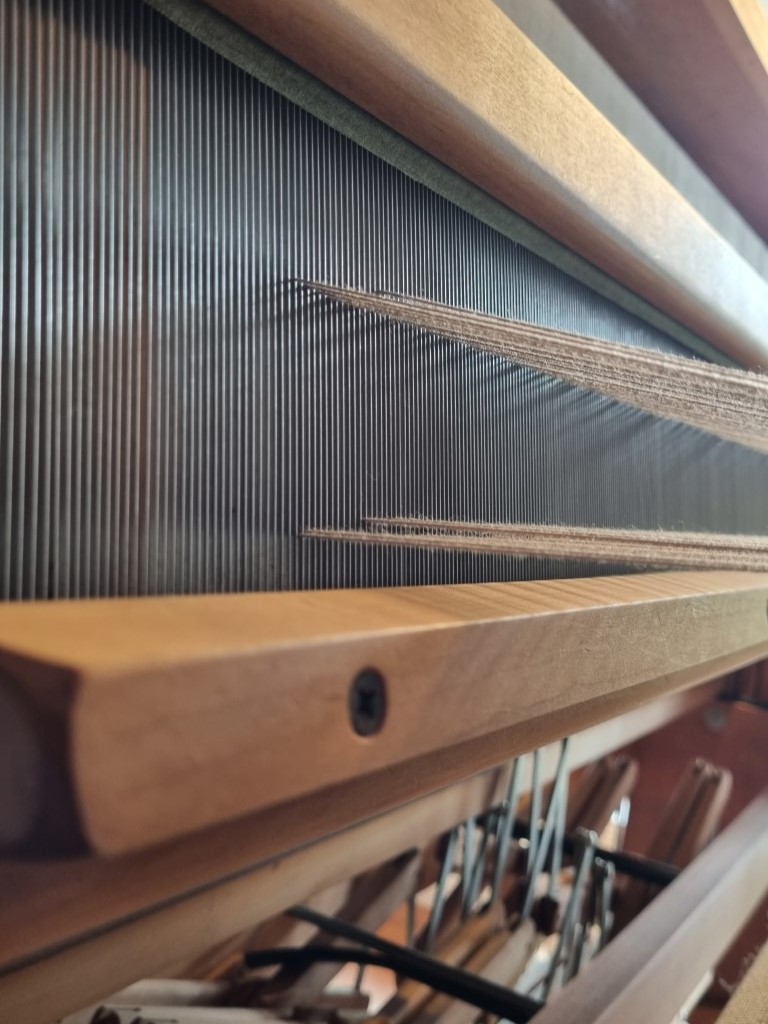
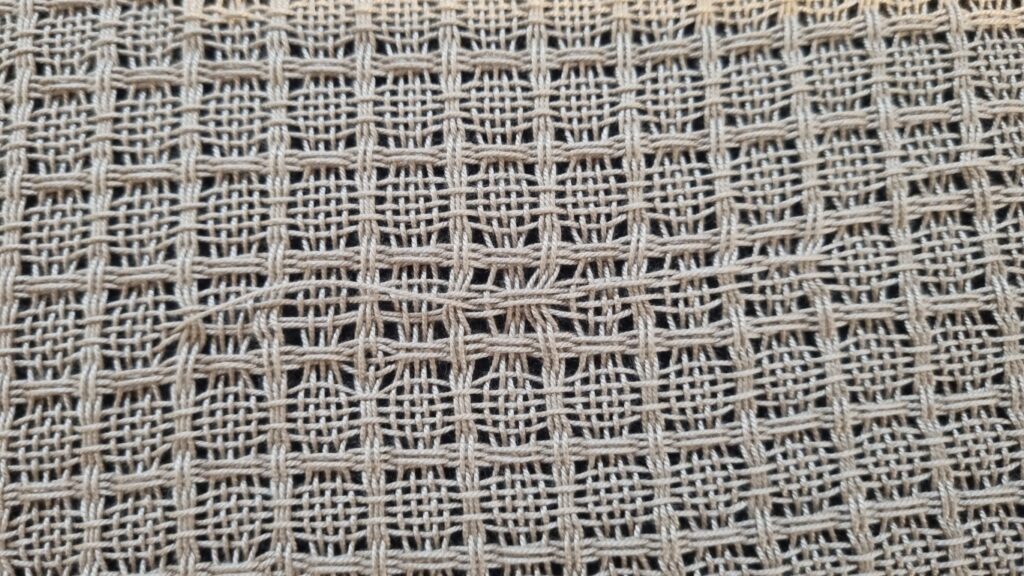
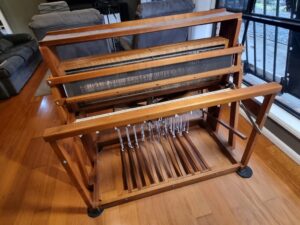
At this point I started to notice lots of mistakes in the weave. I didn’t realise it at the time, but it turned out that the warp threads were sitting up above what I assumed was a shuttle race on my Ashford Jack Loom. This meant that for every pass/pick the heavy boat shuttle was dipping down at the front and slipping under warp threads where it shouldn’t be. Once I saw it, I modified my technique to avoid this problem even though it was making the weave take much longer to do. It was a bit frustrating, but thought it was going OK until I took it off the loom and found loads of little mistakes across the whole project.
I assumed that I must have set the loom up incorrectly for the threads to be sitting up like this, but after having a closer look, I cant see any other way to set it all up to avoid the warp threads lifting off of the race like that (when the shafts are lifted)
I am thinking that I might add a strip of timber to bring this surface up higher (so that the warp threads pass closely over it) and hopefully enable the shuttle to pass through the shed without dipping down.
I did a quick internet search and found a couple of other examples of this happening to people, and they solved the problem with the same idea.. so I will get that organized before my next project.
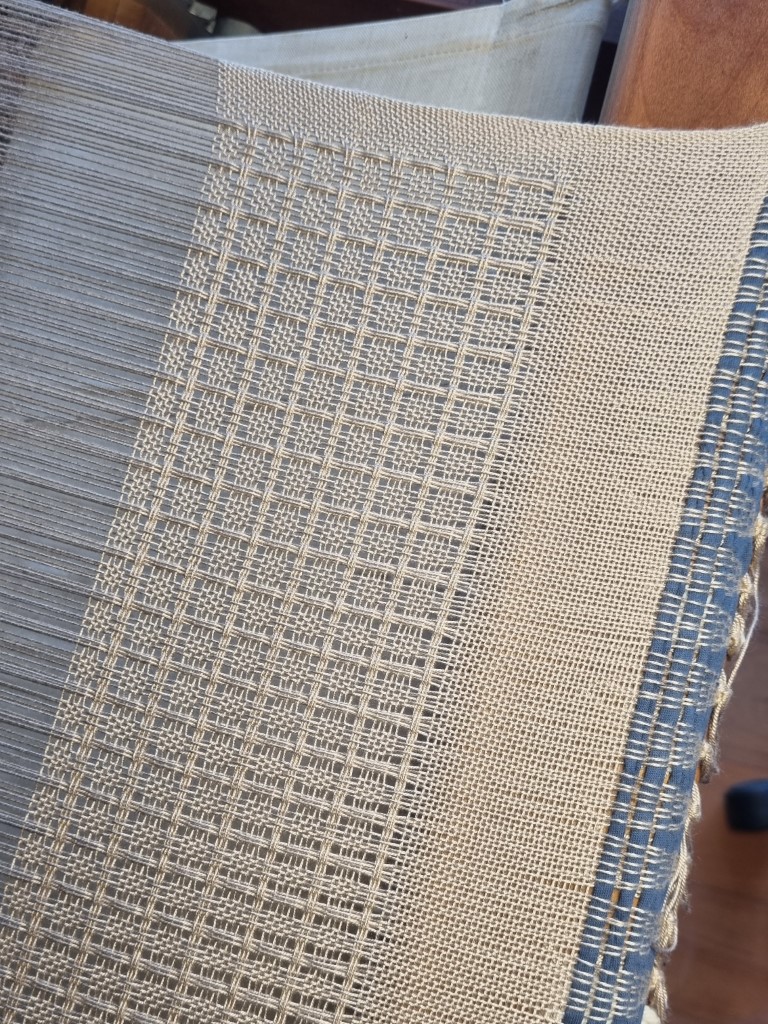
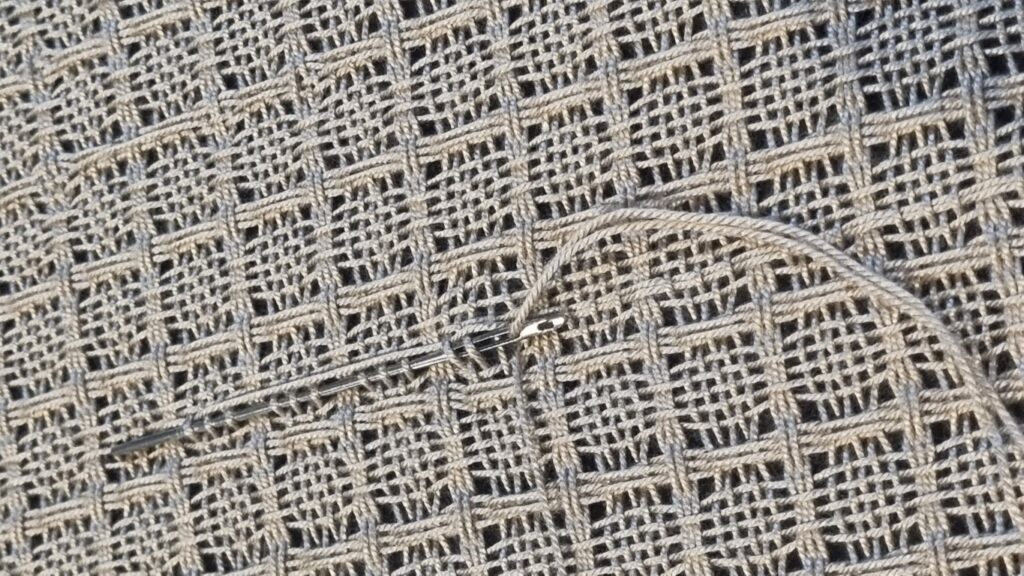
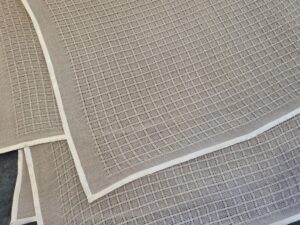
So some of the skipped warp threads were worse than others. Being such a loose weave, the good news was that I was able to easily ‘weave’ a new weft thread in using a large needle, before carefully removing the thread with skips. This took a bit of time due to the number of errors I found, but it was totally worth it to see the finished huck lace looking just about perfect.
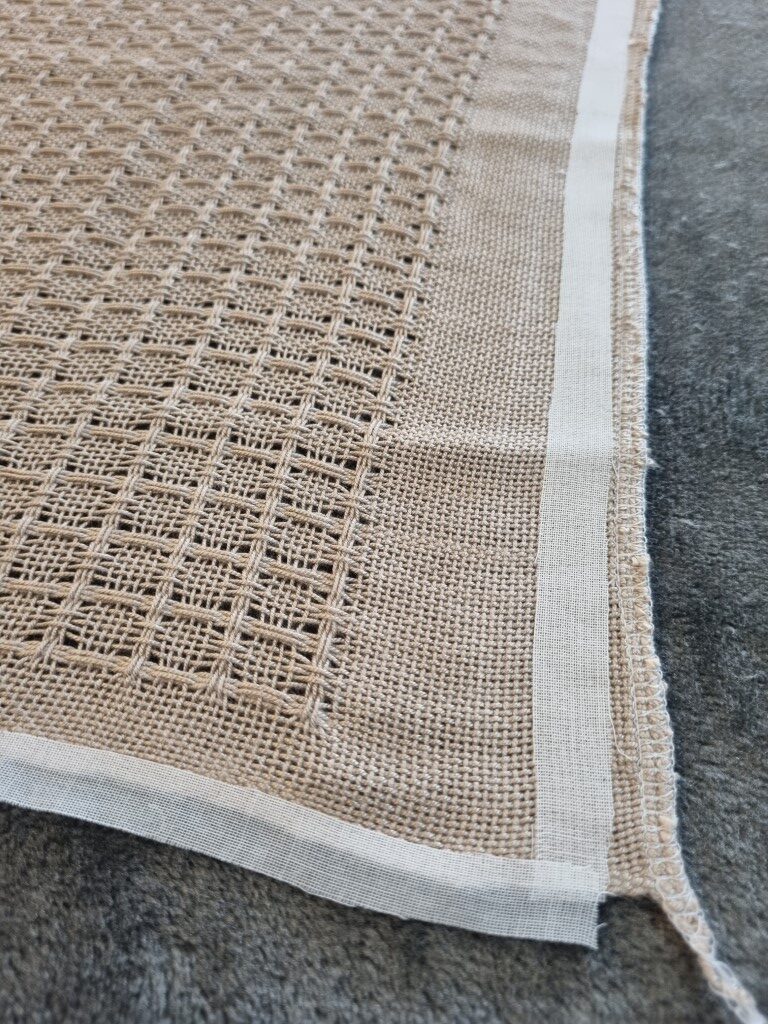
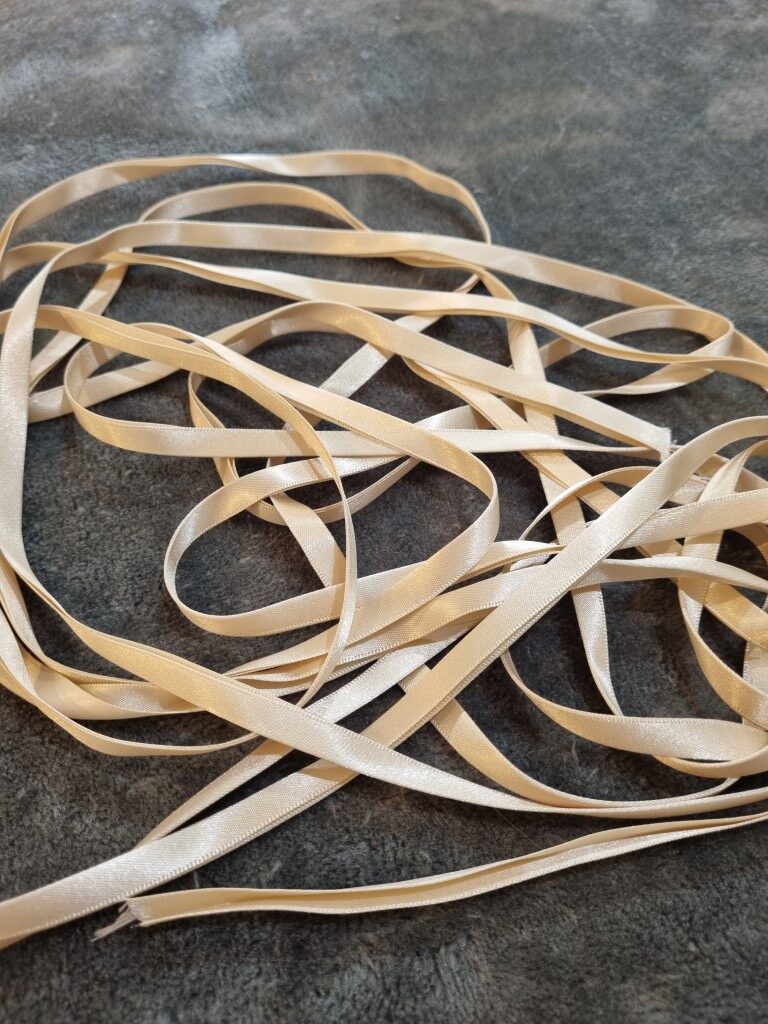
Unfortunately these weft fixes meant that the selvedges now had few too many loose ends to just weave in, so I decided that the best way to finish the project would be to add a satin binding to the outer edges that would secure all of the corrections in place.
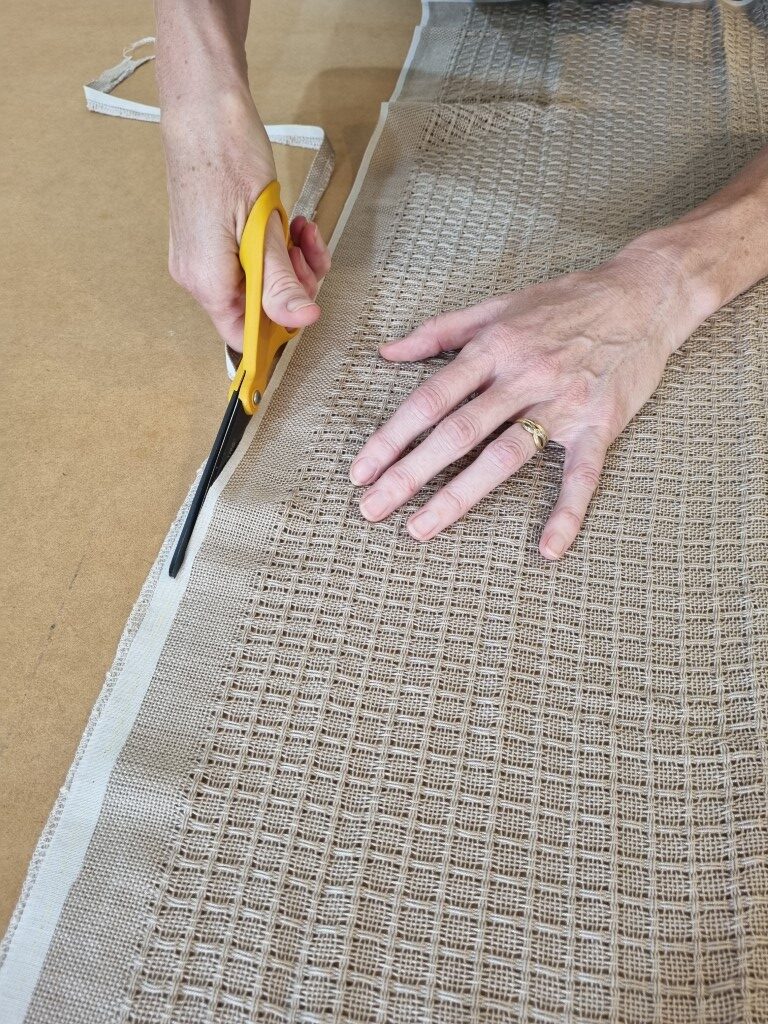
To keep the binding super narrow, I prepared the woven piece by applying an iron on interfacing (being carful to position it exactly on the inner edge that I wanted to finish to) then trimmed off the excess.
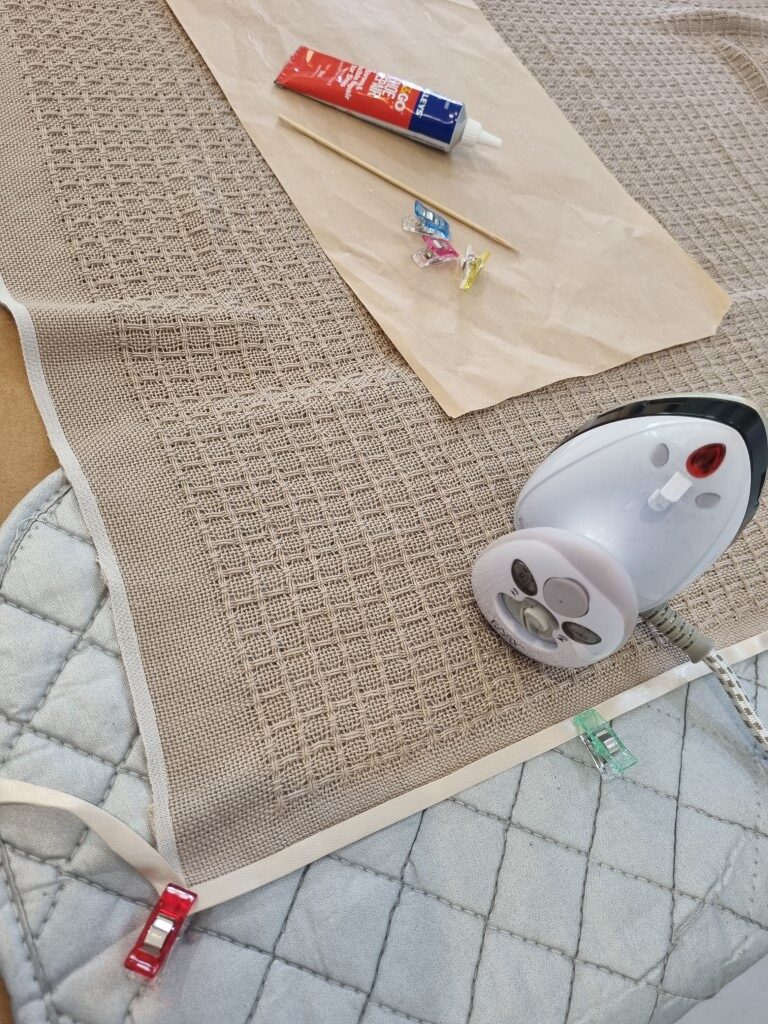
Following that I decided to use a very thin application of contact adhesive to the cut edges, as well as the satin binding, before pressing it into position. This held the binding firmly in place while I top stitched on the sewing machine. Hopefully this method will add some extra strength during use, as I was concerned that all of those trimmed ends were at risk of pulling out of the narrow binding.
Hopefully with those 3 steps (interfacing strip, contact adhesive, and a line of topstitching) it will all hold together for its lifetime. I have never used this technique before, so I will be keen to get some feedback from the recipient around how well it handles a bit of wear and tear, and whether it washes up nicely with all threads staying put.
As for whether I would buy the cheap Temu thread again.. the jury is still out on that one. The finished product was surprisingly drapey and had a beautiful feel. It seems a good option if I only want a small quantity, or a variety of colours, but to be honest I will be looking at sourcing some more reputable brands moving forward as I can now see that a larger cone of quality thread will not go to waste here.
That’s the thing with trying new things – sometimes you have to have a go and make a few mistakes so that you know how to do things better next time 😊