Foxy brown with a splash of black and plum.. dyeing my alpaca fibre in the microwave..
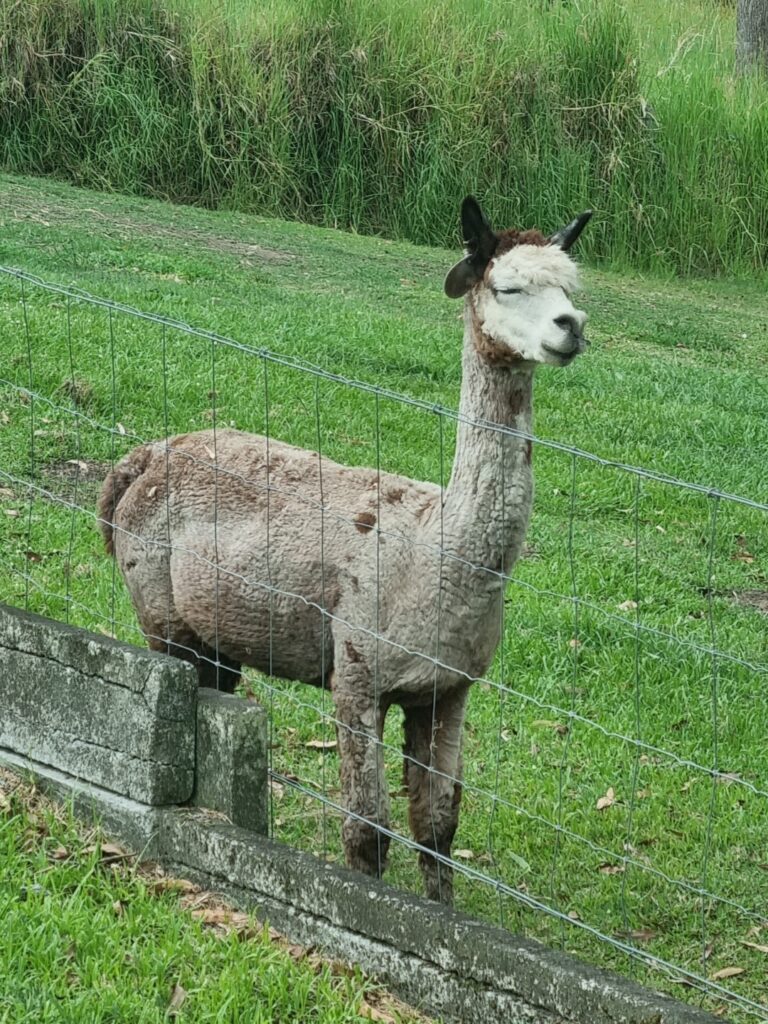
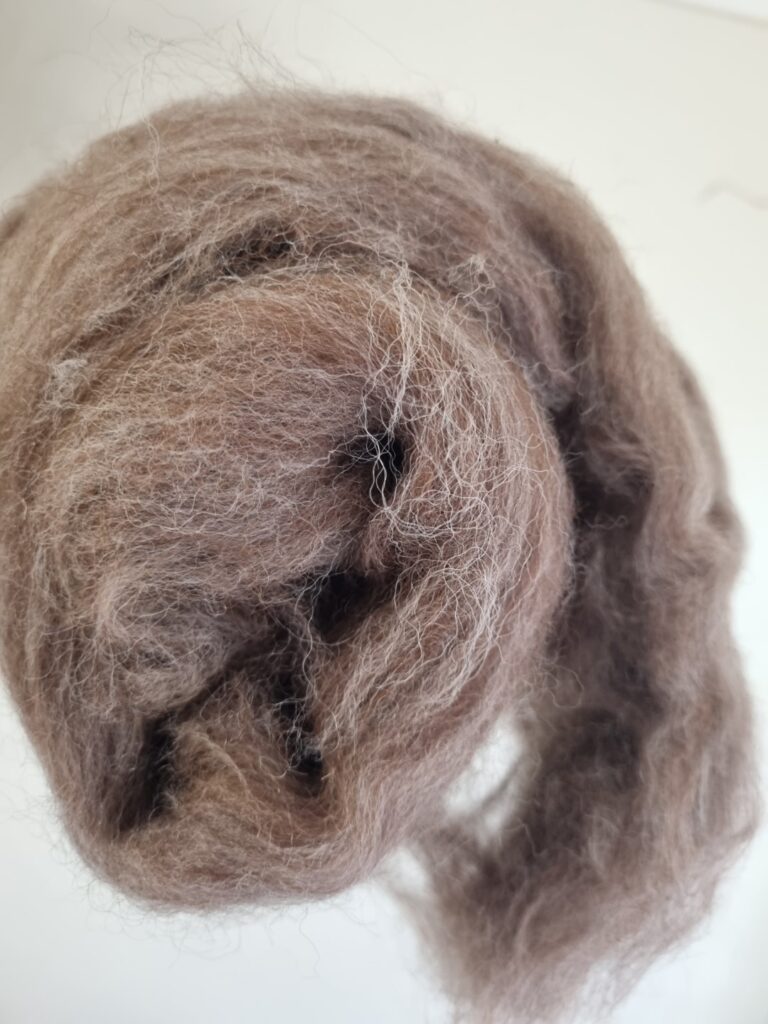
I actually started this yarn project some time ago.. probably back in October 2022.. when I had the opportunity to have a go at microwave dying for the first time at my Spinners and Weavers Group. I had previously dyed a small amount of merino roving in a pot over the stove with some success, but I could see that the microwave method had the potential to be so much quicker, with less equipment and less fuss. I didn’t have a need for any particular colour at the time, so I figured this would be a great opportunity to add some interest to one of my cleaned and carded alpaca fleeces – from my little chocolate brown/rose grey girl ‘Foxy’.
I had spun up some of her fibre once before and found the finished yarn to look a bit like melted neapolitan ice cream.. mostly milky chocolate with a bit of a pinkish tone.
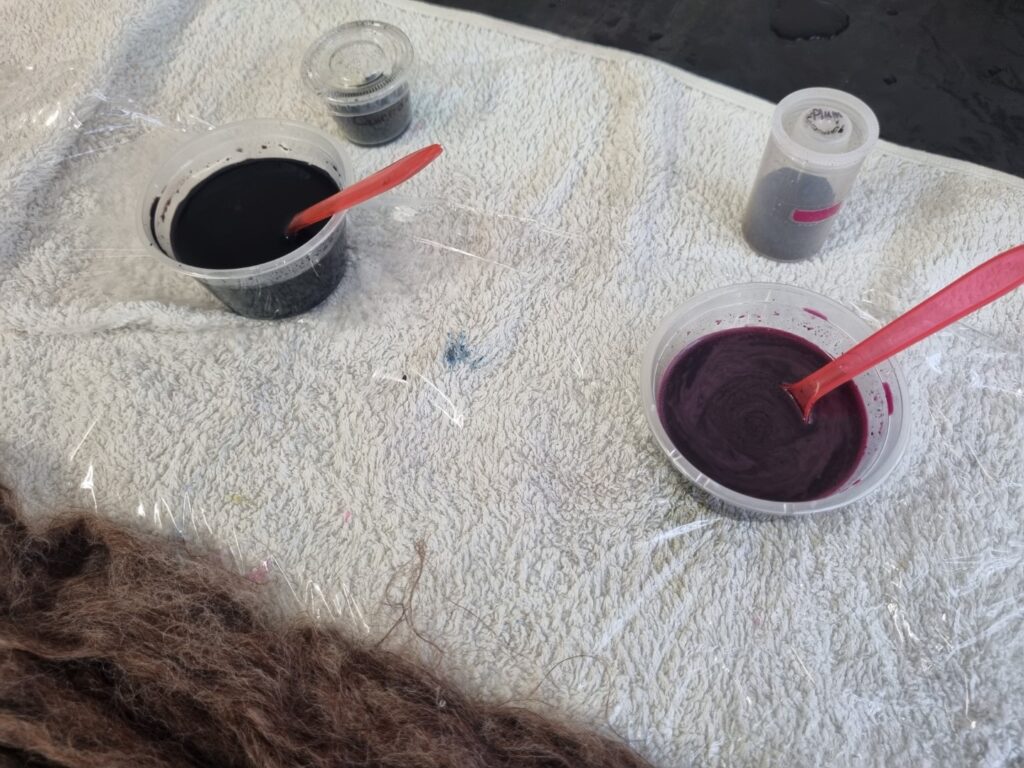
On dyeing day, I took my prepared batts of alpaca, and went about choosing some colours to add. My club has a great supply of ‘Landscapes’ Dyes to choose from, so I used the chart to select 2 colours to give some interest to the milky chocolate brown. I selected Landscapes Originals ‘Currawong’ and ‘Plum’ and I was ready to dye.
I pre-wet the fibre in a bucket of room temperature water that had a splash of vinegar mixed in. While that was soaking, I prepared a length of cling wrap on the table, and prepared my dye powders by mixing with a small amount of hot water until it was all dissolved.
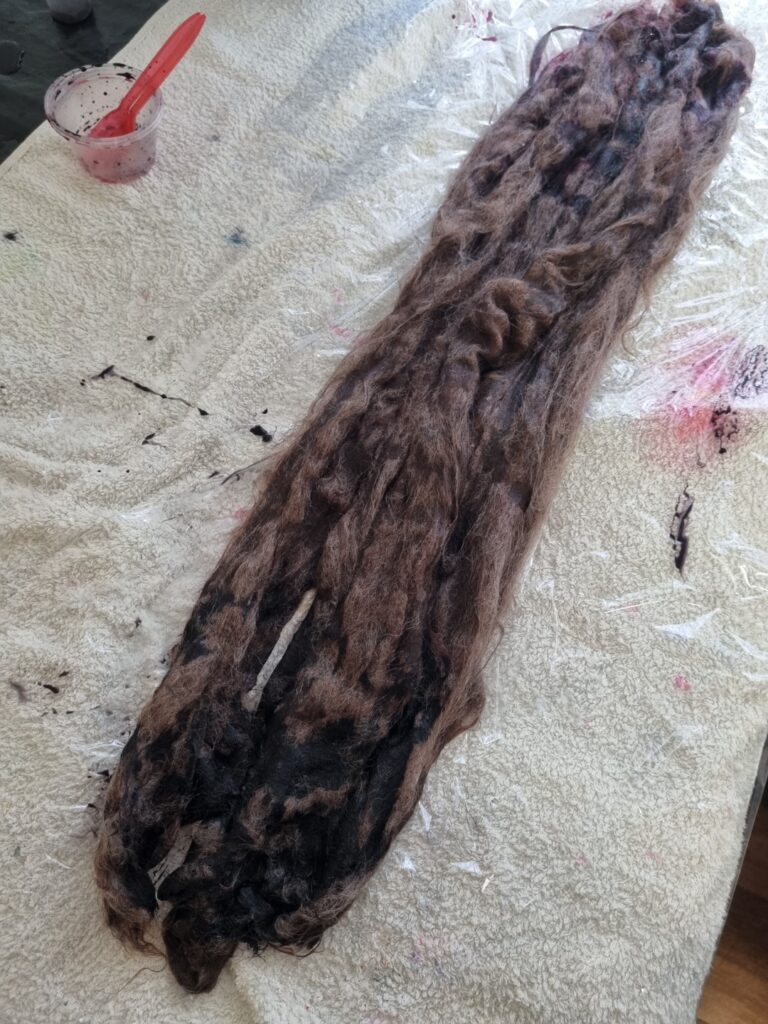
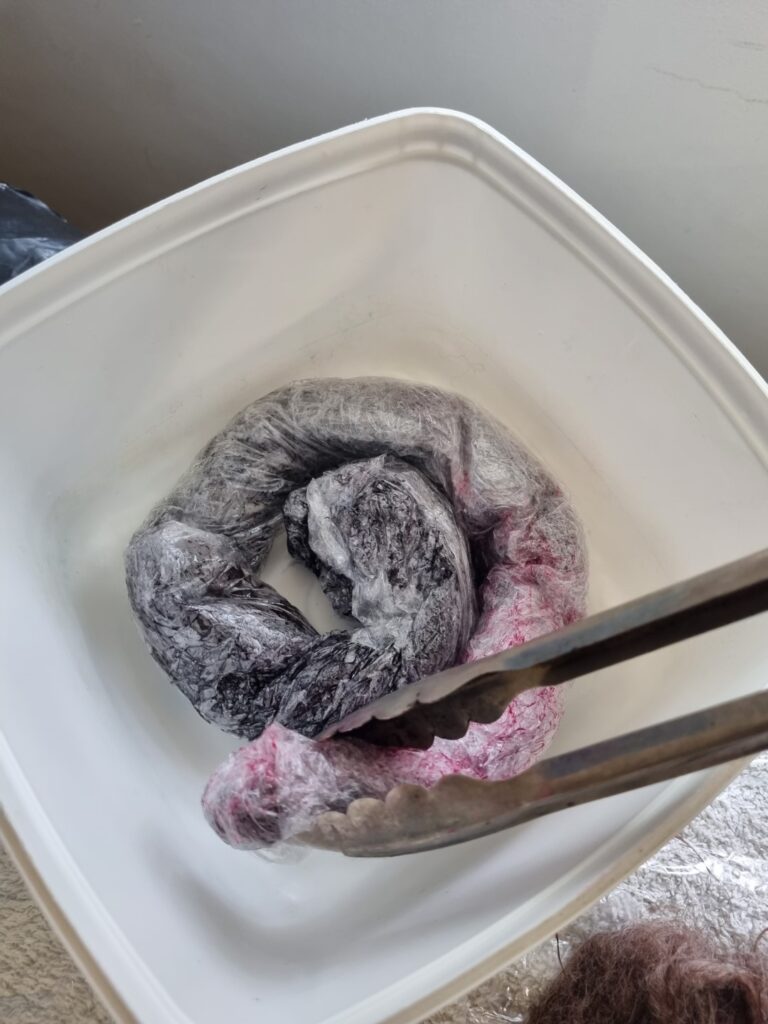
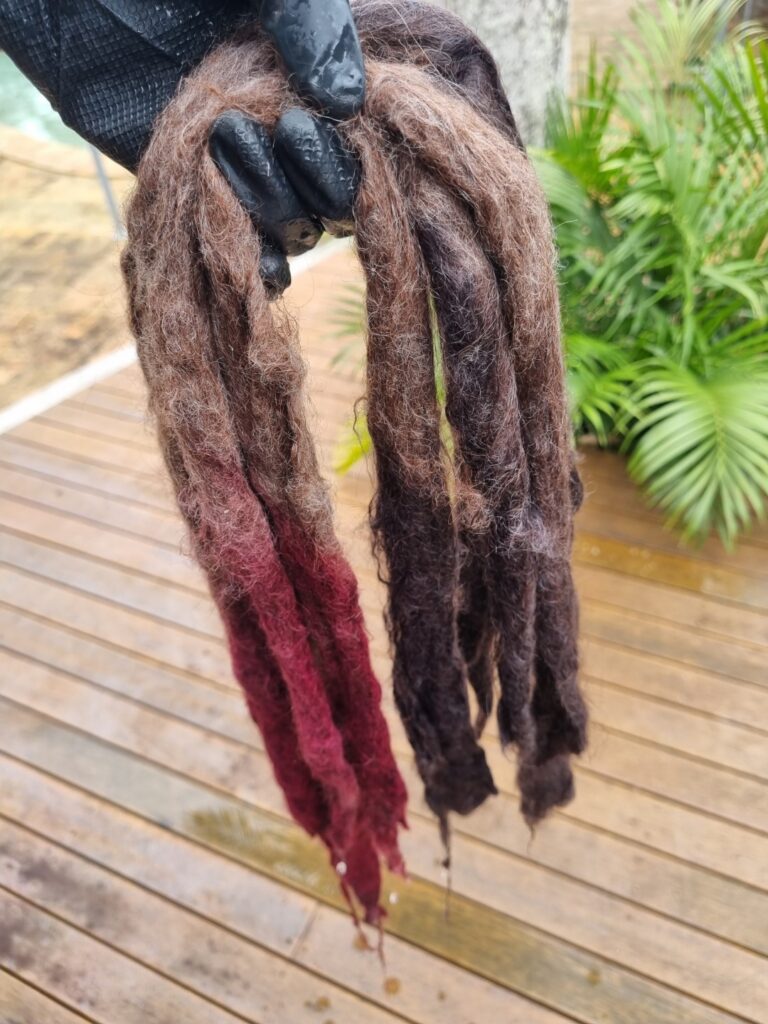
I had decided that I was going to create strips that faded from black, to natural brown, through to the plum colour along the length. Once everything was ready, I gently squeezed out the excess liquid and laid the pre-wet batts onto the cling wrap in a long strip. With rubber gloves on, I applied the black and plum dyes to the 2 ends and gently squeezed/pressed on it to push the dye through. I then wrapped the cling wrap around it and sealed it up before creating a sausage like scroll that fitted nicely into an ice cream container. This was now ready to microwave..
Now I am sure that the time and power setting required to do this will vary with different microwaves and also different quantities of fibre/dye solution being used, but for this project I simply zapped it on high for about 2 minutes. I then took it out and let it sit for a little while before flipping it with tongs and going again for a further 2 minutes. Now it is probably important to note that after the 2 minutes, you must let it all cool down before you go popping open that rolled up cling wrap as it may be very hot. It is also important to note that this is not something you should do in your kitchen microwave – you should not mix your chemical dyeing tools with those that you use to prepare food. At club we have dedicated microwaves and utensils for dyeing activities.
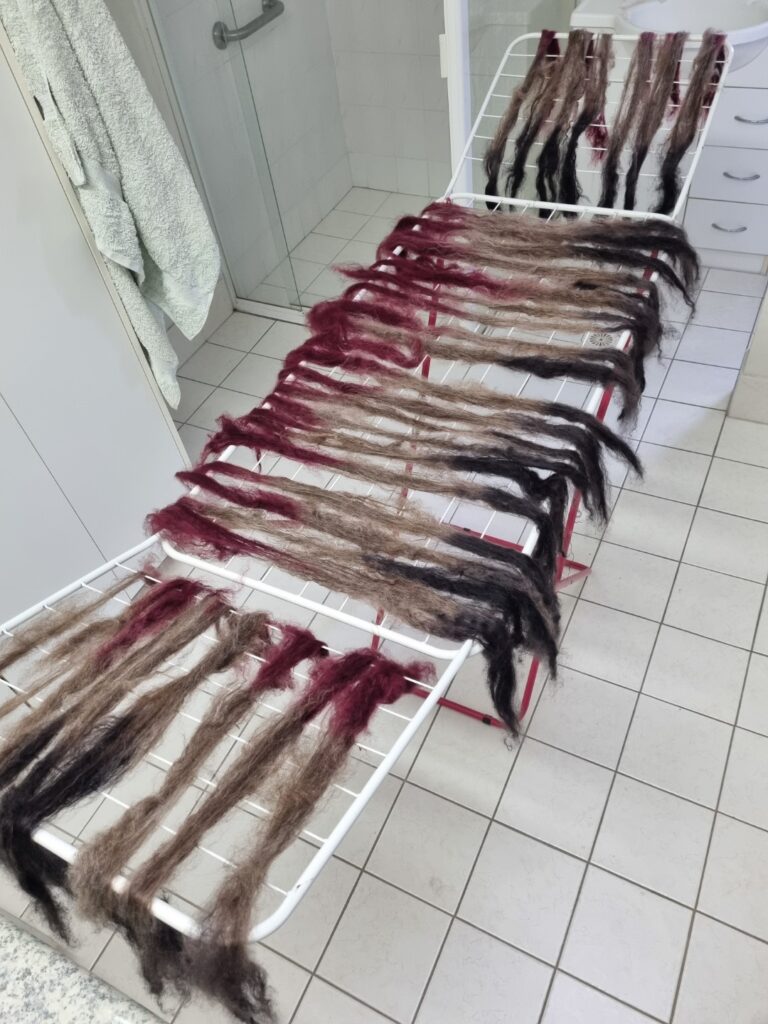
Once cooled, it was all gently rinsed with running water and pressed with a towel. At this point I was a little concerned about how it was looking! My batts of alpaca were looking a little like dread locks.. and it seemed that even with all the gentle handling, the unspun fibre had felted a little. Luckily the felting was really only on the outer surface of each piece, and I resolved this by pulling them apart into thinner strips as I laid the dyed fibre onto my rack to dry.
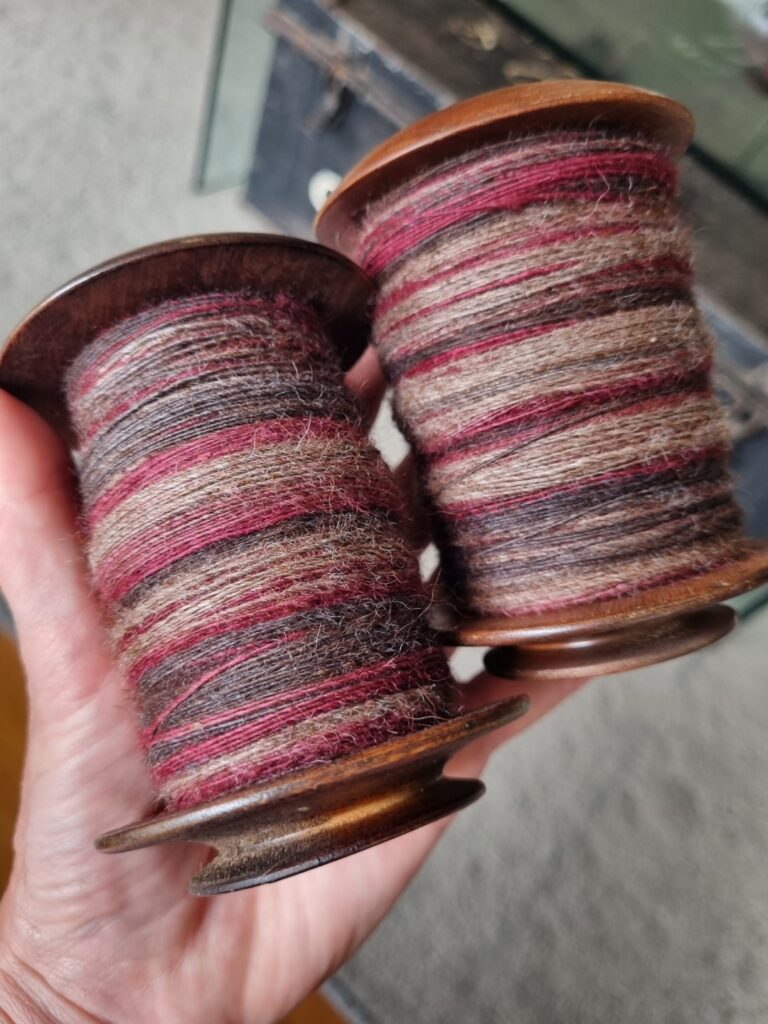
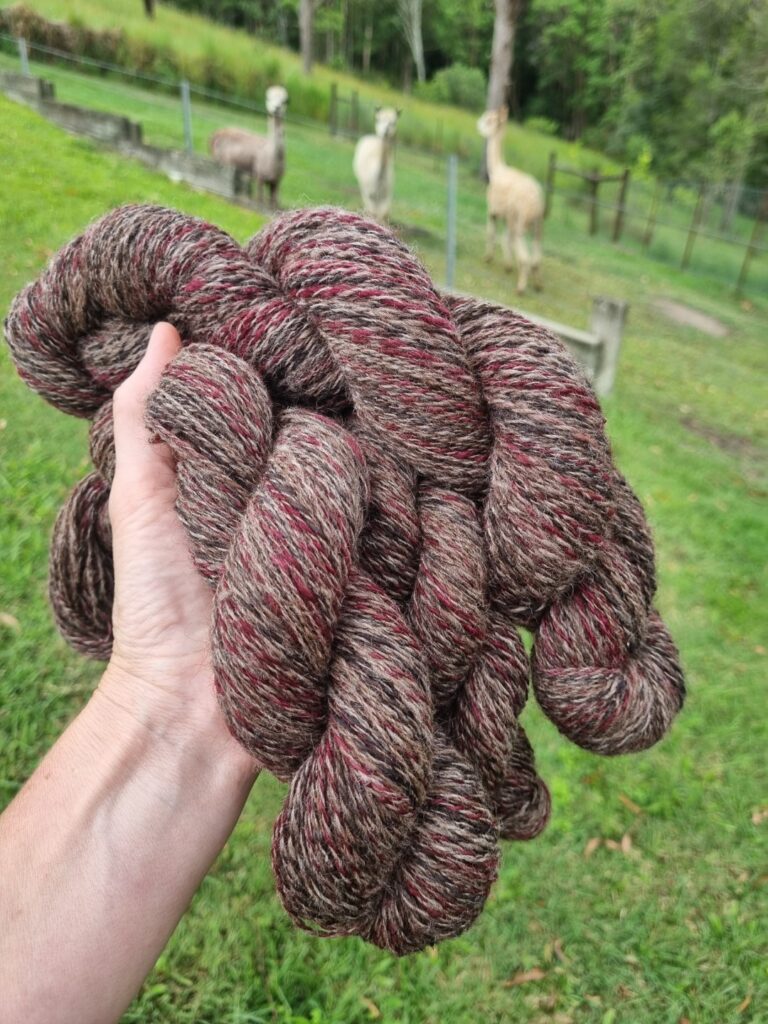
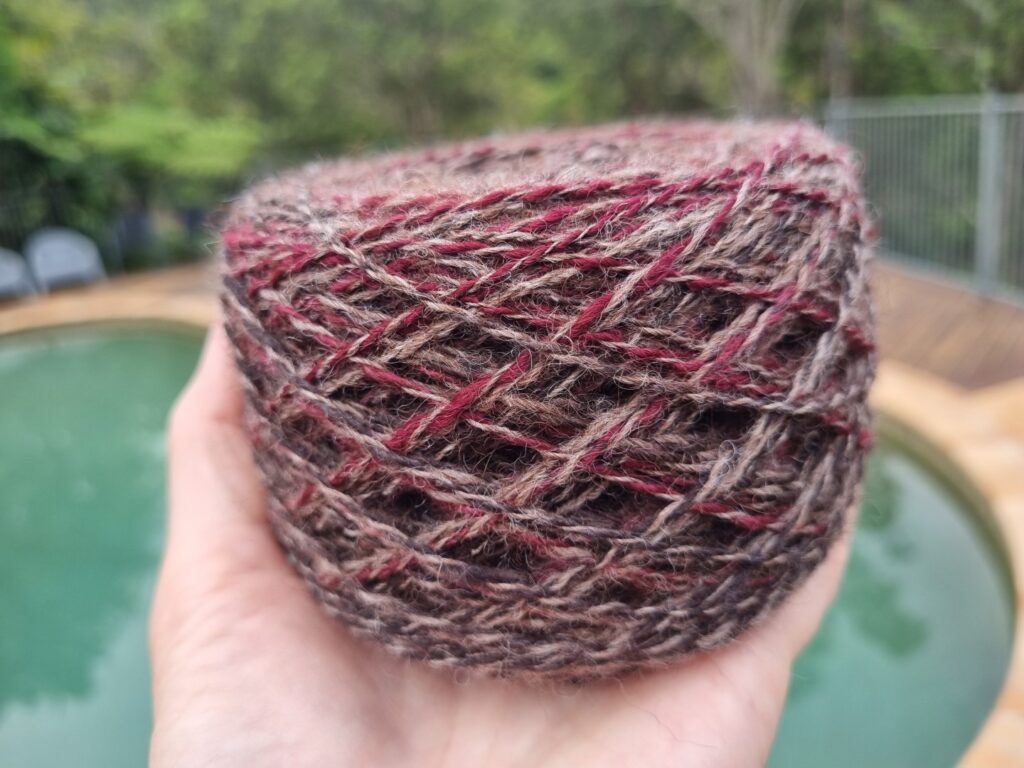
Once dried, the thin strips of black, to brown, to plum were pretty easy to spin and I was happy with the colours I chose. I spun each piece starting with the black end, and the single looked great as each bobbin filled up. Rather than plying the colour blend singles together, I spun an equal batch of plain foxy brown before plying and this not only enabled me to make a larger quantity, but it kept the colour pattern consistent throughout the entire length.
So, would I microwave dye again? Yes. It was definitely quicker, It was probably less mess, and it was certainly effective. I was the only person dyeing unspun fibre that day, everyone else had commercial or hand spun yarn which rinsed and dried without any evidence of felting. I think my main mistake was the way I handled the pre-soaked fibre batts, and that lead to the dreadlock look once taken out of the clingwrap for rinsing. In hindsight, I would have used a different container for soaking rather than the bucket – something like a shallow tray that would allow for less movement during the transfer from soak, to towel, to the cling wrap on the table.
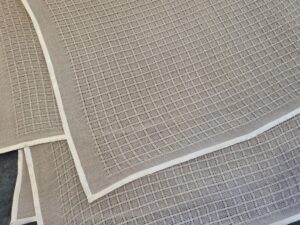
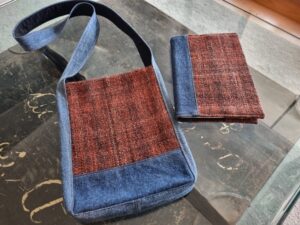
On completion, I had to think about what I would use this yarn for.. which is a new thing for me as I usually have a specific plan for my fibre projects. After doing a little knit swatch, I could see it would look good knitted, but unfortunately there was not really enough to make something worthwhile. Then it occurred to me that this one would be nice to use in something woven, and so onto the hand spun stash shelf it went.. until just recently..